Take a step-by-step tour of the Walker repair facility and see how a lifting magnet is repaired and remanufactured.
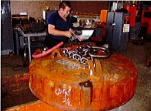
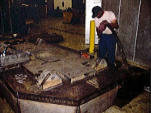
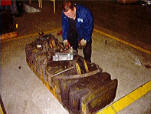
STEP 1: The first step in the repair process is a complete incoming inspection. This inspection process includes both a mechanical and electrical evaluation. The magnet is assigned a job number and a “Magnet Service Report” is initiated.
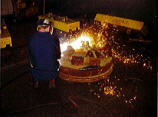
STEP 2: The magnet is disassembled by machining or a controlled arc process. The parts are then inspected, noting those needing reconditioning or replacement. At this point a quotation is prepared and sent to the customer.
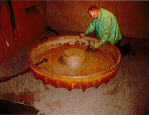
STEP 3: After the quotation has been approved by the customer, mechanical parts are cleaned and sand blasted in preparation for reassembly.
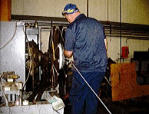
STEP 4: The copper or aluminum conductor is then cleaned and inspected, noting any that are out of specification or needing replacement. Failure to replace conductor with the proper width and thickness leads to premature failure.
STEP 5: Engineering creates a CAD drawing for the production department along with a detailed bill of materials for the store room.

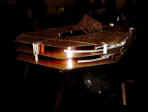
STEP 6: Coils are wound turn by turn with Nomex insulation in between each turn. When winding aluminum, the last three turns are wound with copper conductor.
STEP 7: After winding, the coil is tied off with vertical straps of copper. Alcuplate is used to join the aluminum conductor to the last two turns of copper conductor. This is one of the crucial steps that differentiates Walker Magnetics from other repair facilities. Alcuplate prevents galvanic corrosion and we are the only manufacturer to use this quality material.
STEP 8: Components are inspected against OEM drawings and remanufactured to the latest revision. Following a machining process, the magnet is ready for reassembly.
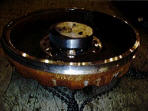
STEP 9: After the coil is installed in the case and properly insulated, the bottom plate is inserted and pressed to 4000 psi and tack welded. The magnet is then semi-automatically welded using stainless steel weld to permanently create a water tight seal.
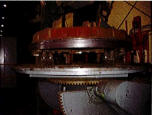
STEP 10: The magnet is vacuum impregnated with a specially formulated insulating potting compound and baked to over 350 degrees F to produce a water tight fit and cure the potting compound.
STEP 11: In this final stage, all magnets are electrically tested. The values are recorded to create a historical record in the customer’s individual folder.
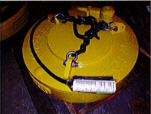
STEP 12: Prior to shipment, the magnet is painted and the chains and pins are attached. The completed magnet is ready for shipment or to be put in a customer’s individual Magnet Exchange Program inventory.
STEP 13: Walker delivers the highest quality New or Remanufactured magnet to your facility.